lamp shades ·
Tutorial ·
Tutorial - Make a Lampshade from a Tea Towel
We were asked to write a guest blog post for Warwickshire's Week of Thrift recently, which we were very excited to be involved with - as you know, we are all natural born thrifters around here! Here is our Tea Towel Lampshade tutorial:
For this project, you will need:
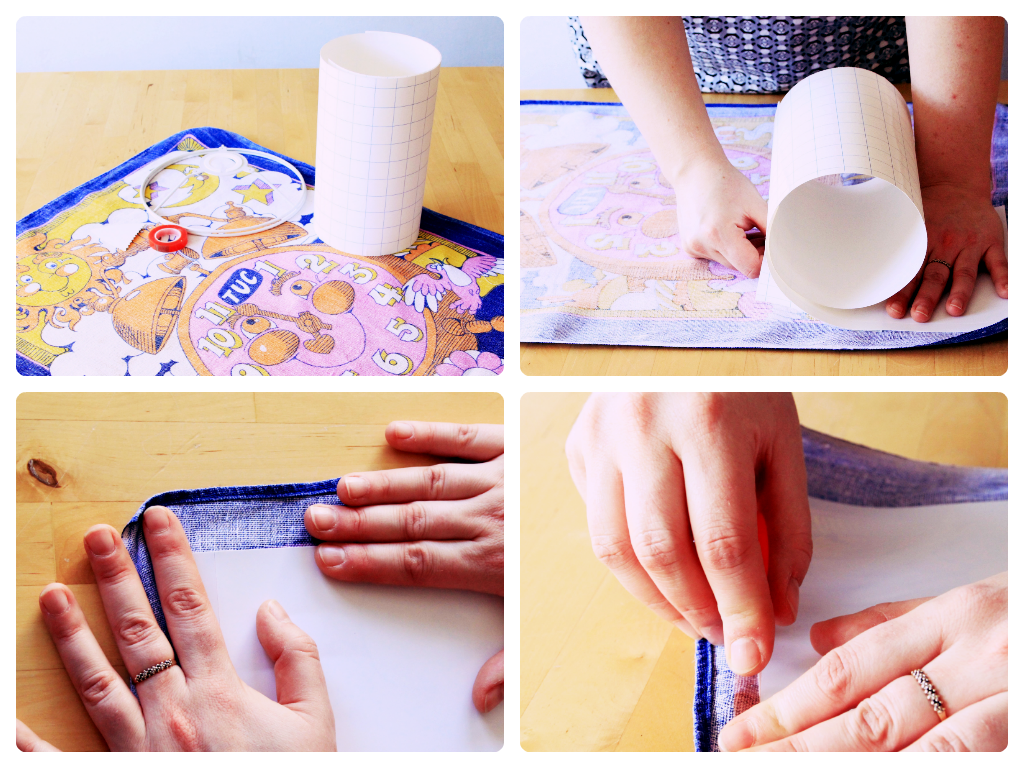
Place your tea towel right side down (the patterned side) on a large, flat surface.
Work out where you would like your self adhesive panel to be positioned on your tea towel to best show off the pattern on your finished shade.
Carefully peel off approximately 8cm of the backing paper from your panel and smooth the sticky side on to the back of your tea towel, working from left to right. Smoothing the fabric out as you go, work down the full length of the self adhesive panel, pulling a few centimetres of the backing paper off at a time.
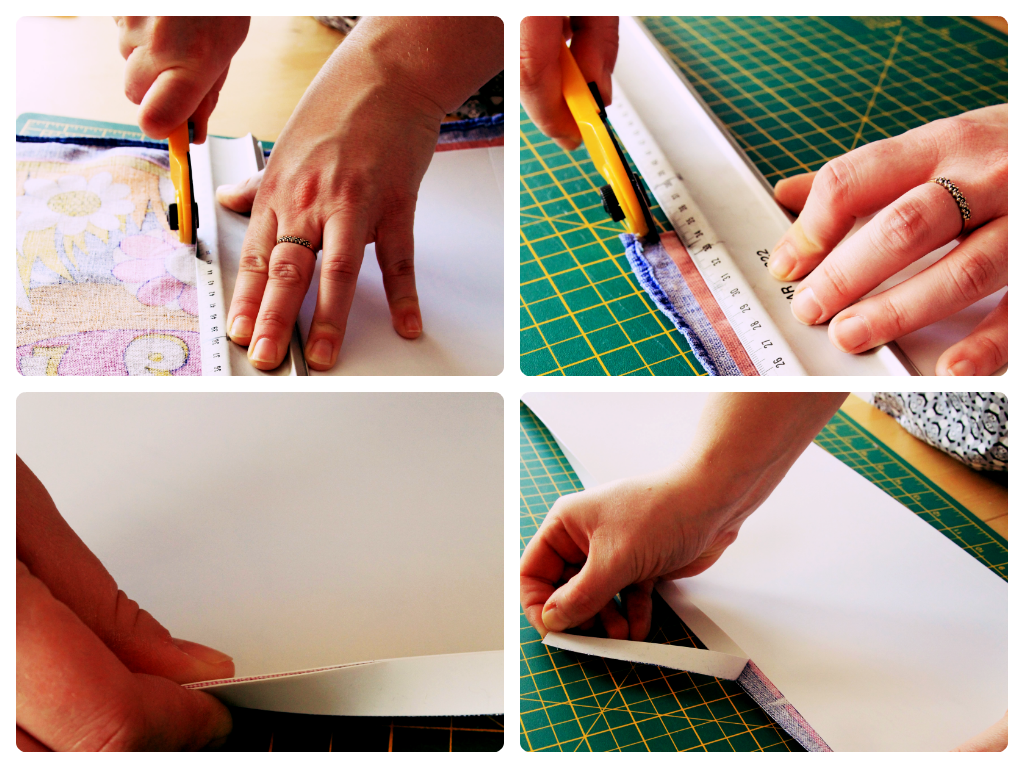
Once your panel is firmly stuck to your tea towel, carefully trim the excess tea towel from around the edge. We use a cutting mat, a metal ruler and a rotary cutter, but a pair of sharp scissors can be used instead. If you have chosen to follow the top tip above, cut around the strip of sticky tape when doing this.
When your hoops are in place, peel the backing from the double sided tape you applied to the edge of your panel earlier, pressing it against the other end of the panel so that it's secure.
Present the voucher below to get 10% discount on lampshade kit purchases until the end of April - the 20cm kit used for this shade is usually £9.95. If you you're a bit nervous about having a go at this by yourself, why not book a place on one of our workshops? (New dates coming soon)

For this project, you will need:
- 1 x tea towel (or piece of fabric) at least 66cm x 22cm
- 1 x 20cm lamp shade kit (available to purchase in our shop)
- A pair of sharp scissors
- A pair of rubbish scissors that you don't mind ruining!
Iron your tea towel so that there are no wrinkles.
Top Tip - to avoid a raw edge on your lampshade, add a strip of sticky tape to one of your short edges of fabric, beyond where the panel is stuck. Be aware that this stuff ruins scissors, so use an old pair you don't care about!
Once your panel is firmly stuck to your tea towel, carefully trim the excess tea towel from around the edge. We use a cutting mat, a metal ruler and a rotary cutter, but a pair of sharp scissors can be used instead. If you have chosen to follow the top tip above, cut around the strip of sticky tape when doing this.
Snap back the scored edges from the long sides of the adhesive panel until the strips break away, leaving a neat fabric border. Be careful not to let your fabric fray too much, snip any frayed edges as you go.
Peel off the back of the sticky tape you added during the top tip, fold it back on itself and stick it on to your panel. Apply another length of tape to the top of the tea towel you have just folded over.
Again using the roll of double sided tape, cover the edge of the round sections of the metal hoops provided in your kit.
If your fabric has a 'way up', work out which side of it you will need the hoop that fits on to the light fitting to go. If you want your shade to go on a table lamp, you will want the light fitting ring at the bottom of your shade, for a hanging shade you will want it at the top.
Remove the backing from your sticky tape attached to the two hoops and get ready to roll.
Starting from the left hand side of your panel, slowly roll the two hoops on to the panel at the very edge of the pvc backing simultaneously - you want the hoop to be as close to half on the plastic and half on the fabric as possible. You might want an extra pair of hands to help you with this!
Roll the excess fabric around your hoops, tucking it in on the inside with the tooth edge of the triangular tool provided. Make it as neat as possible with the smooth edge of your tool.
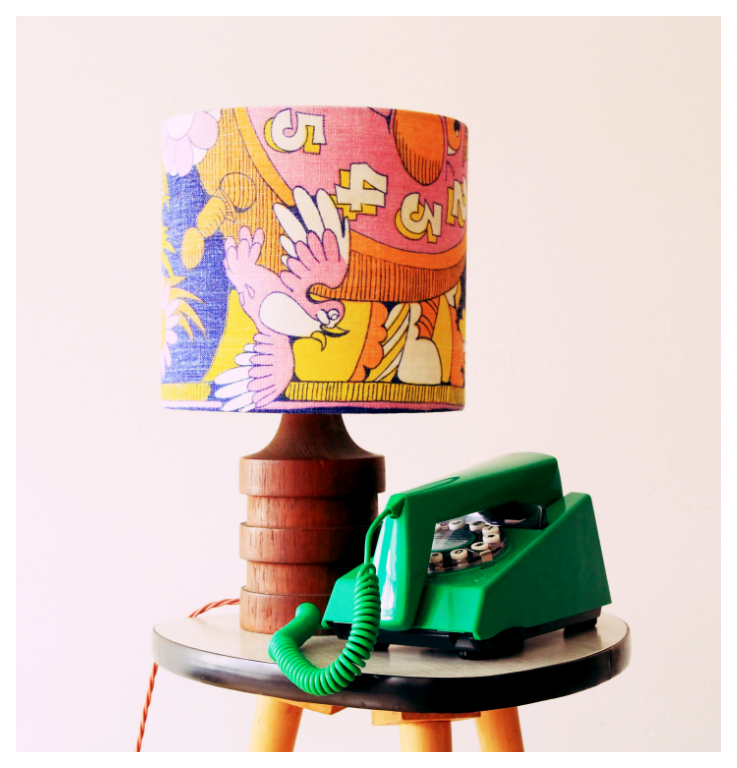
Et Voila! You have one completed, professional looking drum lamp shade, up-cycled from a vintage tea towel!
Berylune, 45 Park Street, Leamington Spa CV32 4QN. www.berylune.co.uk
Shop - Craft Classes - Studio

